Making the 1951 Designer Dress
My experience making this dress.
VINTAGE RELEASES
12/2/20251 min read
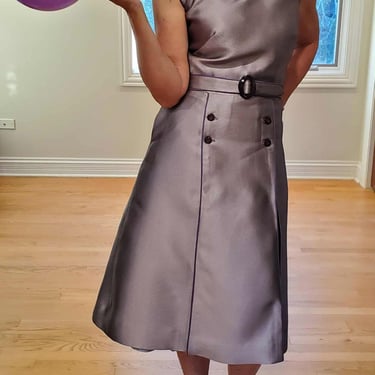
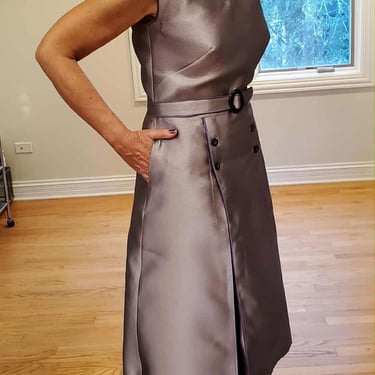
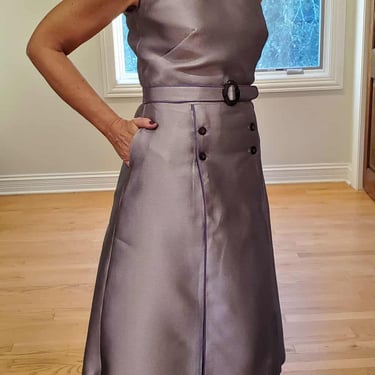
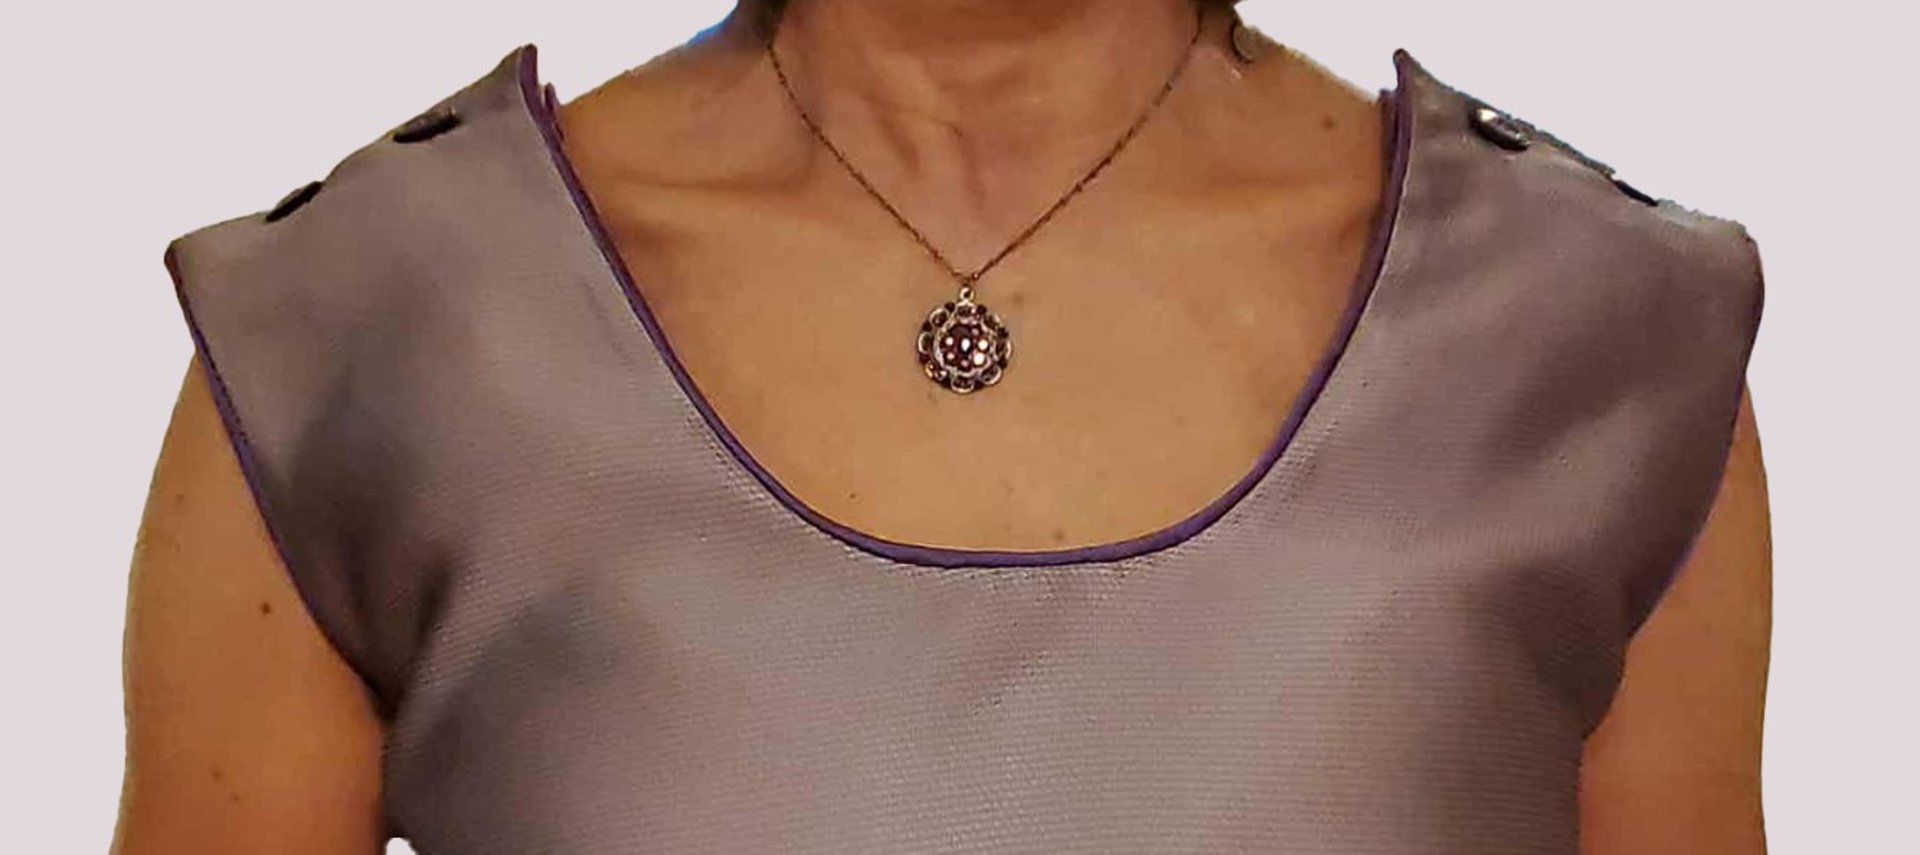
I was really attracted to the cover photo on this Star Pattern. I had never tried the brand before so I wanted to check it out. Unfortunately, the first thing I discovered was that the piping, which I felt really highlighted the lines, was not included. The front skirt panel was designed in such a way that piping could not be easily added. The same with the belt. I really liked the piping so I adapted the pattern.
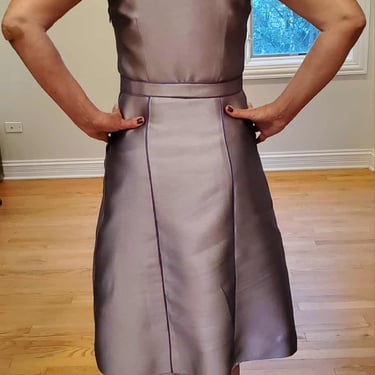
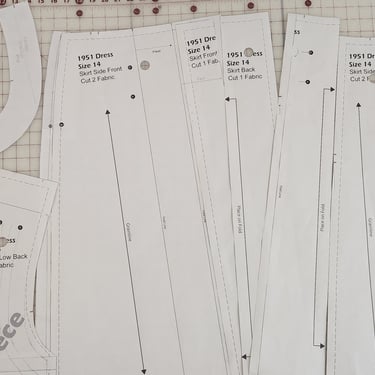
After making a muslin and adjusting fit I redrafted the front and side skirt panels so that I could add piping. There are front pleats that button closed but the instructions on how to form the pleats are very confusing. I redid them about five times on the muslin…and then couldn’t remember the process so I needed to do it again on the actual dress. I have tried to make this a lot clearer on my instructions.
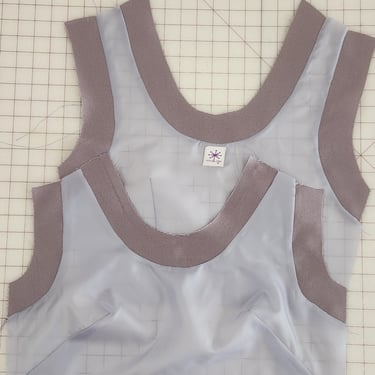
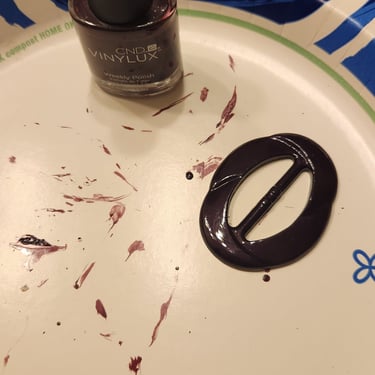
I also decided to line the dress because the fabric I chose seemed to wrinkle easily. I took the side zipper up to the armhole rather than stopping a few inches below. I find that this makes it so much easier to get the dress on. I included pockets in my version but not on the pattern because I’m not sure I like how they look. It is handy to be able to carry my phone though. I had a belt buckle that was the right width but the wrong color in my stash – luckily I had nail polish in the right color and painted the buckle to match the buttons. I think it worked out great.